

I’ve always been been fascinated with interesting doors and windows – particularly antique ones. In fact, for years (and in two different homes), I’ve had old windows mounted to the wall for decoration. My dad refers to them as “windows to nowhere” – he thinks they’re pretty silly – but I don’t care because they make me happy!
Mounting vintage windows (and doors) is actually pretty easy, if you have the right tools and a little help. For this installment, my mother was kind enough to assist. It’s a lot easier with two people, but if you have to go it alone, you can (I’ve done it before). If you’re interested in hanging your own antique window “art”, you will need the following:
– a stud finder (I have a Zircon and I love it because it’s really easy to use!)
– painter’s tape
– a pencil
– a drill with 7/64″ drill bit
– a Phillips head screwdriver
– Corner Braces (I used 4 per window – mine were 1-1/2 inches x 5/8 inch)
– wood screws – 1 inch long (just make sure they are they same width as the ones included in the Corner Brace packages)
– windows to hang, glass cleaned beforehand (also make sure that there are no jagged or loose panes of glass that could be dangerous)
Steps
1. Use a stud finder to indicate where the studs are on the wall. I used a small piece of the painter’s tape to quickly mark the location of each stud.
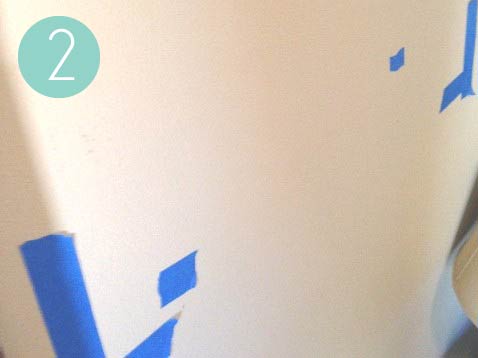 2. Ask your assistant to hold up each window, roughly where you would like it to hang. Take a step back and see if it appears straight on the wall. If it looks correct to your eye, most likely it will be. Mark the corners with painter’s tape and use a pencil to mark the bottom edge of the window on the wall, as close to the stud as possible (by eye-balling your “stud marker” tape).
 3. Use the stud finder to verify that your pencil mark are indeed on a stud, then use the drill to get your first hold started. You don’t have to go all the way through, you just want the drilled hole to “guide” the screw in straight for the next step.
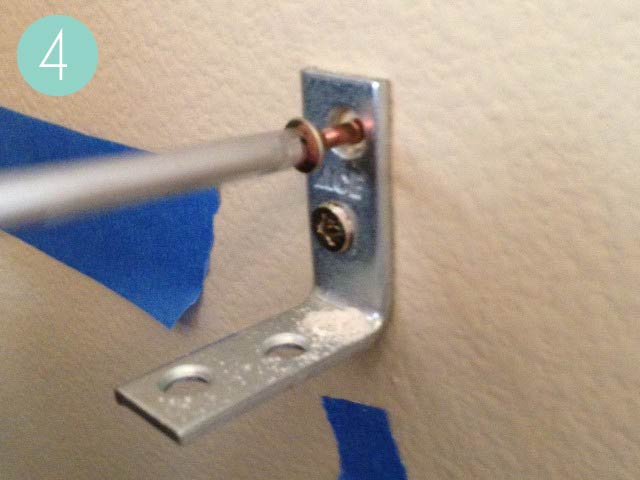 4. Place the corner brace as shown (prepared to serve as a bottom bracket for your window), with hole you just drilled centered in the bottom hole on the brace. With the brace in place, mark the location of the top hole with a pencil Then use the drill the repeat step 3 for the second hole. Using the wood screws, not the screws included with the corner brace, use the screwdriver and tighten the brace to the wall (trying to keep it level).
 5. Using your pre-taped guides for corners and your secured corner braces (as a “placement shelf”), reposition the window. Using the stud finder again, verify where you will need the top braces, and just like Steps 3 and 4, secure the brace to the wall on each side. Once the window is finally positioned, use the drill to “start” the hole you will be screwing in on the top on each side of the brace. You could probably use both holes, but mine was plenty secure with just using the outer-most one.
 6. Next, use the smaller screws included in the corner brace kit and the screwdriver to secure the window on the top. Repeat this process on the bottom with the braces that the window is resting on. Repeat these steps for each window you want to hang.
Here’s the end result in my guest room:

Hanging these three windows only took about an hour and half with the help of my mom. What do you think?
