One of my favorite ways to display paper goods is with clothes pins on chicken wire – it’s just so easy and if there are “gaps” between items, you can see through it, so it feels light and airy. We use this display method for Bridal Shows, and it’s worked so well, we now use it for several products. I thought this concept would be perfect for displaying our custom recipe cards in the kitchen section. Since a few customers have asked how we made the display, I wanted to document it here. It’s surprisingly easy!
To make your own Chicken Wire Frame, you’ll need the following:
- a wooden frame (new or used), no glass or backing
- roll of chicken wire
- wire cutters
- staple gun and staples
- picture hangers
- paint
- sandpaper
Here’s how to make your own Chicken Wire Frame:
Use the sandpaper to sand your wooden frame. Be sure to get the corners well and wipe it down with a lightly damp cloth to get rid of any sanding dust.
Spray paint the frame your desired color, using several LIGHT layers of paint (so you have no runs!).
Tip: I use disposable table cloths as drop cloths when I spray paint – they’re only about $2 at the grocery store, large, and fantastically disposable.
Gather your roll of chicken wire and wire cutters. You’ll want to know approximately how much you’ll be using, so you can roll it out to the approximate width and cut the wire (so you’re not dealing with that huge roll the entire time).
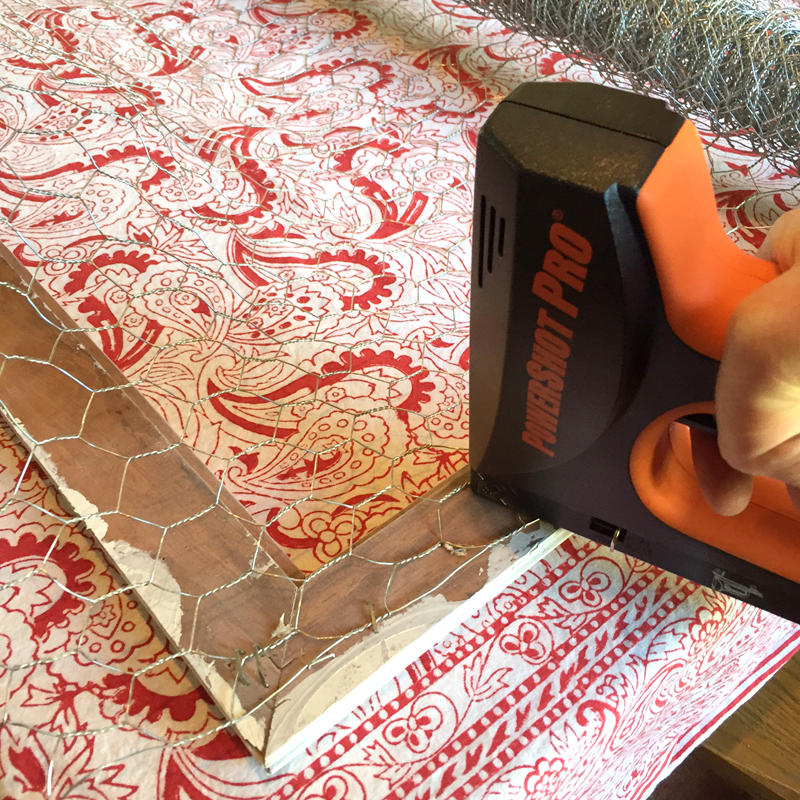
Using the edge of the frame as your guide, start to staple to chicken wire, starting from one side and going to the other. You can also staple along the top and bottom, making sure the wire is taught all the way around.
Once the wire is secure to the frame, use wire cutters to trim the edges, so they don’t extend beyond the wooden frame (but still are outside of the staples).
This is what the finished product will look like fro the front. 🙂
Use a screwdriver to add a “picture frame” hook to the back of the frame.
Hang and enjoy being able to add photos, invitations, or other paper goods to your chicken wire frame!


